About Us Bathrooms
Bathroom RemodelingWalk-In ShowersTub-to-ShowerGroutless ShowersTile & Custom ShowersADA & AccessibleAging in PlaceBathroom Vanities
Kitchens
Kitchen RemodelingKitchen CountertopsKitchen CabinetsKitchen Backsplash & TileKitchen Flooring / LVPOutdoor KitchensSmall Kitchen Remodeling
Services
Whole House RemodelingHome AdditionsDesign-Build ServicesGarage Conversion / ADULaundry Room & MudroomFlooring & LVPAging in Place
GalleryBlogReviewsContact
Call 928-800-1998Free Consultation
Tile Shower Installation Prescott, AZ

Custom Tile Shower Installation in Prescott, AZ

Serving Prescott, Prescott Valley, Chino Valley, and surrounding Yavapai County communities.

Get a Free Estimate Call (928) 800-1998
Tile Shower Installation Prescott, AZ

Tile Work Done Right — Every Time

Most shower failures don't start with the tile — they start with what's behind it. A beautiful tile shower is only as reliable as the waterproofing system underneath. When moisture finds its way through inadequate membrane work or poorly sealed grout lines, the damage spreads silently behind the walls, rotting substrate and driving up repair costs that dwarf the original installation. At Infinity Kitchen & Bath, waterproofing isn't an afterthought; it's the foundation every project is built on.

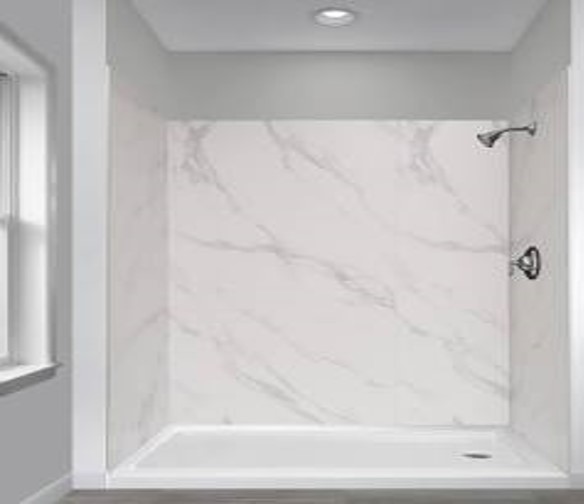
What separates a professional tile installation from a cheap one comes down to the details most homeowners never see. Proper work means installing Schluter KERDI or equivalent uncoupling membranes, back-buttering every large-format tile to eliminate voids, maintaining precise slope toward the drain, and finishing every edge with Schluter trim profiles so corners stay clean and watertight for years. Skipping these steps produces a shower that looks fine on day one and starts leaking by year three.

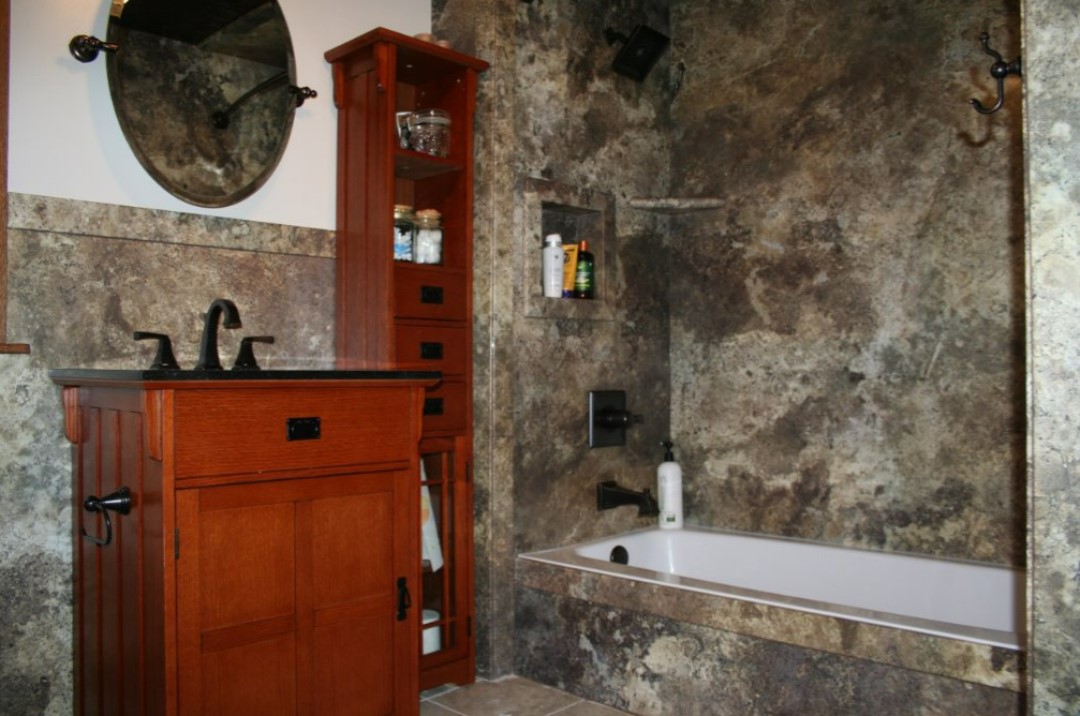
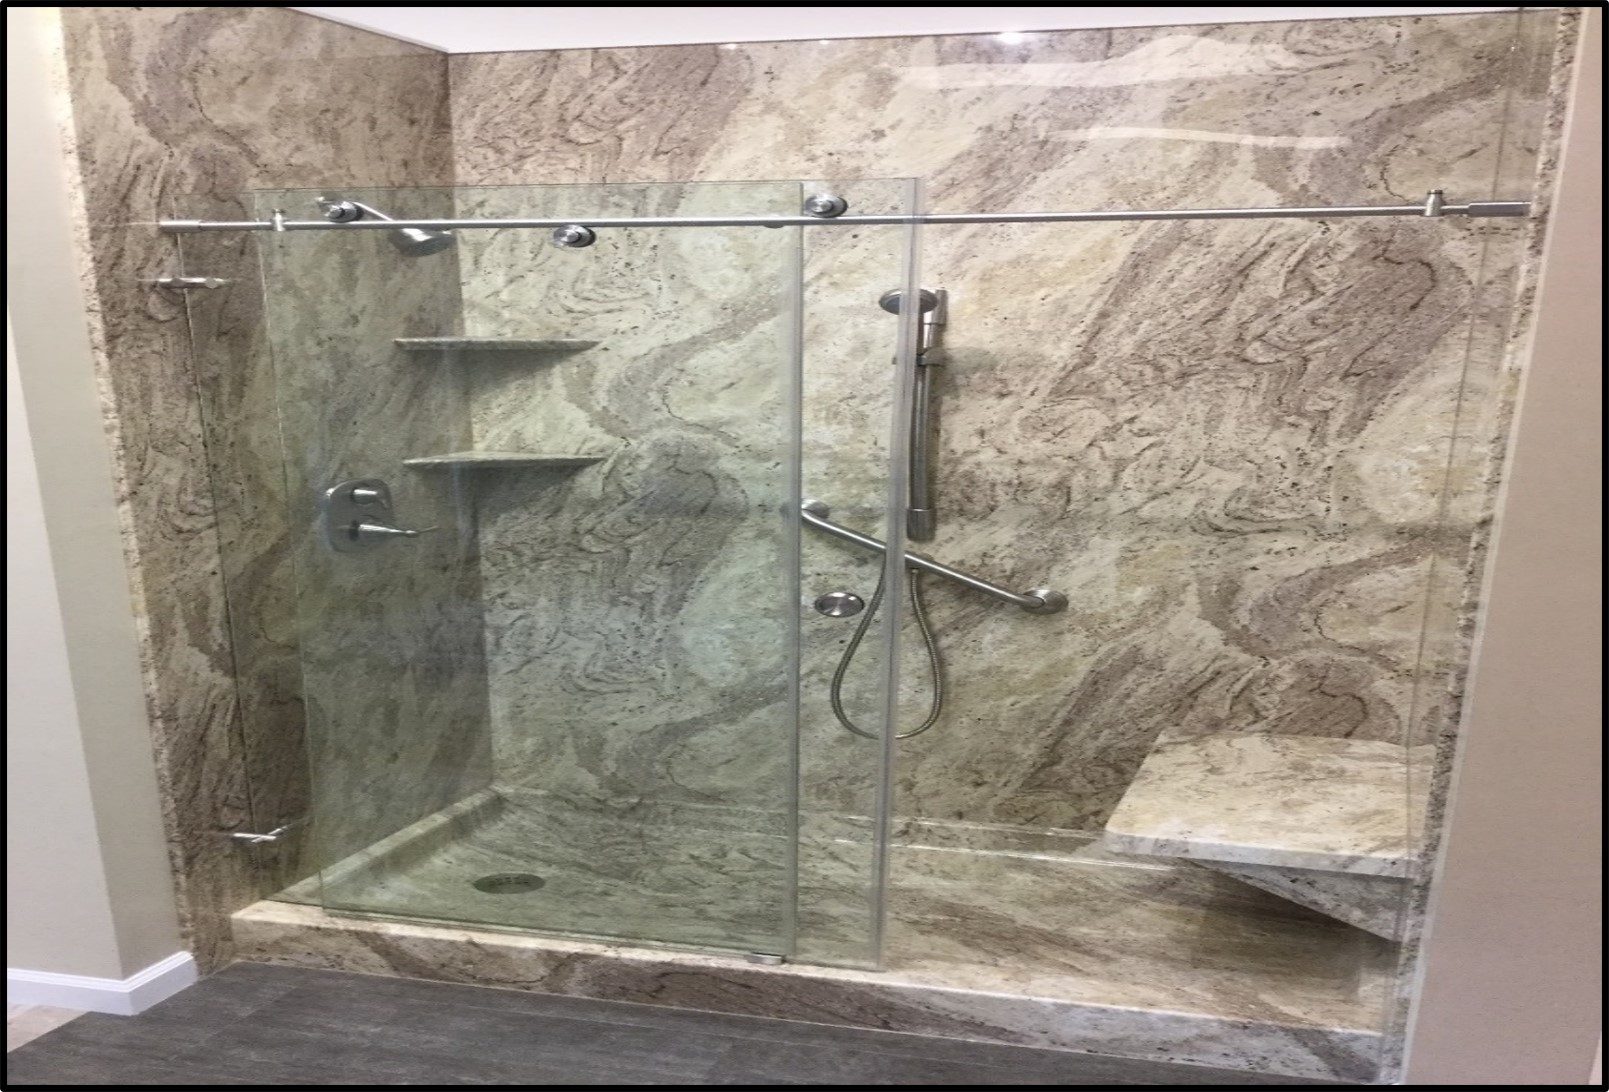
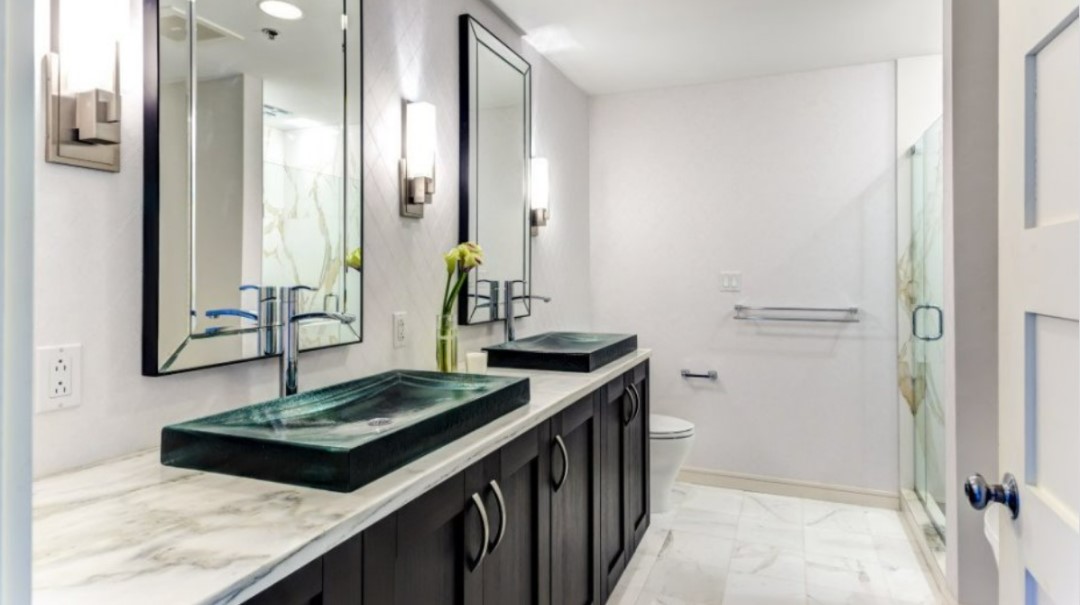
Infinity Kitchen & Bath brings that same level of craft to every tile shower we build in the Prescott area. Whether you're upgrading a dated tub surround, adding a custom steam shower, or building a brand-new bathroom remodel from the studs out, our tile crews handle the full scope — demo, substrate prep, waterproofing, layout, setting, grouting, and sealing — so you get a shower that looks exceptional and performs for decades.

Custom tile shower installation by Infinity Kitchen and Bath in Prescott AZ

Tile Options for Your Custom Shower

The tile you choose sets the tone for the entire bathroom. We work with every major tile category and help you find the material, size, and pattern that fits your design goals, your maintenance preferences, and your budget.

Porcelain Tile

The most popular choice for shower walls and floors. Porcelain is dense, low-absorption, frost-resistant, and available in an enormous range of looks — from concrete and wood grain to classic stone. It handles Prescott's dry climate without warping or cracking and requires minimal sealing compared to natural stone.

Natural Stone (Travertine & Marble)

Travertine and marble bring warmth and organic character that no manufactured tile can fully replicate. Both materials require proper sealing and periodic re-sealing to stay moisture-resistant, but when installed and maintained correctly they produce a timeless shower that adds genuine value to your home.

Large-Format Tile (24×48 and Beyond)

Oversized tiles create a sleek, contemporary look with fewer grout lines, meaning less maintenance and a more expansive feel in any shower size. Large-format installation demands a perfectly flat substrate, back-buttering to achieve full coverage, and careful layout planning to avoid awkward cuts — all skills our crew practices on every job.

Subway Tile & Classic Patterns

The 3×6 subway tile earned its place as a classic because it works in virtually any design. Stack bond, herringbone, offset, or vertical — the pattern you choose transforms the same tile into a completely different aesthetic. We help you visualize layouts during the design consultation so there are no surprises on installation day.

Mosaic & Accent Tile

Glass, ceramic, and stone mosaics work beautifully as shower floor surfaces, decorative border bands, or full accent walls behind a showerhead. The smaller format gives them natural flexibility around curves and niches. We incorporate mosaic accents strategically so they elevate the design without overwhelming it.

Pebble & Natural River Stone

Pebble floors add a spa-like texture underfoot and pair well with both contemporary and natural design themes. Because pebble tile has more grout surface area than most options, sealing and proper slope are critical. We ensure every pebble floor is fully sealed and pitched correctly so water doesn't pool between the stones.

What's Included in Every Tile Shower Installation

We don't cut corners on the systems that protect your home. Here's what's built into every tile shower we install — the work that happens before the first tile goes up and the finishing touches that make the installation last.

Waterproofing Foundation

  • Vapor barrier & backer board prep — all framing cavities protected before substrate installation
  • Schluter KERDI membrane — industry-leading uncoupling and waterproofing applied to walls and pan
  • Mud-bed or Wedi board shower pan — sloped base for reliable drainage, no flex or movement
  • Proper slope to drain (1/4” per foot) — water moves off the floor without puddling or standing
  • Schluter edge & corner profiles — clean, watertight transitions at all tile edges and transitions

Tile & Finish Work

  • Full layout planning & dry-run — tiles staged before setting to verify pattern, cuts, and symmetry
  • Back-buttered installation — full mortar coverage on every tile to eliminate hollow spots and future failure
  • Epoxy, unsanded, or sanded grout — grout type matched to tile and joint size for the best long-term result
  • Custom niches & built-in shelves — recessed storage designed and waterproofed during the framing stage
  • Linear drain option — sleek curbless designs with a single-pitch floor and concealed linear drain channel
  • Penetrating grout & tile sealer — applied after full cure to repel moisture, staining, and mold growth

Our Tile Shower Installation Process

Every tile shower we build follows a proven sequence that keeps the project on schedule and the final result on point — no surprises, no do-overs.

01

Design Consultation & Tile Selection

We start with a thorough on-site consultation to understand your vision, measure your space, and review tile samples together. During this phase we discuss layout options, grout color, niche placement, drain style, and fixtures so every decision is made before any demo begins. We'll also walk you through how your tile choice interacts with the rest of your bathroom remodel — flooring, vanity, and hardware finishes — to make sure everything works as a cohesive design.

02

Demo & Substrate Preparation

Existing tile, backer board, and shower pans are fully removed. We inspect the framing for any moisture damage, rot, or structural issues and make corrections before moving on. Stud cavities are cleaned, any plumbing rough-in adjustments are made, and new cement board or Wedi board is installed to create the flat, solid substrate that good tile work requires. Rushing this step is the number one cause of tile failures — we don't.

03

Waterproofing Membrane Installation

With the substrate in place, we apply the Schluter KERDI waterproofing membrane to all wall surfaces and the shower floor. Seams are embedded in unmodified thinset and overlapped according to manufacturer specifications. All penetrations — valve bodies, niche openings, bench edges — receive KERDI-BAND treatment before tile is set. This is the single most important phase of the project, and it gets our full attention every time.

04

Tile Layout, Setting & Grouting

Before any adhesive is mixed, we dry-lay the tile pattern and mark reference lines to guarantee symmetric, balanced results. Large-format tiles are back-buttered for complete mortar coverage; mosaic sheets are pressed firmly into the thinset bed. After the thinset cures, joints are grouted with the specified product, then carefully cleaned and finished. Schluter edge profiles are set at all exposed tile edges for a polished, professional look that also protects the corners from chipping.

05

Sealing, Fixtures & Final Walkthrough

Once the grout has fully cured, we apply a penetrating sealer to the tile and grout surfaces. Fixtures — showerhead, valve trim, hand shower, linear drain grate — are installed and tested for leaks. We complete a thorough final walkthrough with you to review every detail, answer questions about ongoing maintenance, and make sure you're completely satisfied before we call the project done. Our tile work is part of a larger commitment to full-service bathroom remodeling that stands behind everything we build.

Related Shower Services

Tile is one way to build a stunning shower — but it's not the only way. Explore related services we offer as part of our complete bathroom remodeling menu.

Part of Something Bigger

Tile Work is Part of Our Full Bathroom Remodeling Service

You don't have to hire separate contractors for tile, plumbing, and carpentry. Infinity Kitchen & Bath manages the entire bathroom remodel from demo to final walkthrough — one team, one schedule, one accountable contractor.

Explore Full Bathroom Remodeling

Tile Shower Installation FAQ

Common questions from Prescott homeowners planning a tile shower project.

How long does tile shower installation take?
A standard tile shower replacement — demo, waterproofing, tile, grout, and fixtures — typically takes 5 to 8 business days depending on the size and complexity of the space. Projects that include significant framing repairs, custom niches, or large-format tile requiring extended mortar cure times may run closer to two weeks. We provide a realistic schedule during the design consultation so you can plan accordingly.
What size tile works best in a shower?
There's no single right answer — it depends on your aesthetic goals and shower dimensions. Large-format tiles (12×24 and up) minimize grout lines and feel expansive in any size shower. Smaller tiles like 4×4 or 3×6 subway are easier to work around curves and niches. For shower floors, tiles smaller than 4×4 are generally recommended because more grout lines mean more texture and grip underfoot, which improves safety on a wet surface.
Do I need to waterproof before tiling?
Yes — absolutely and without exception. Tile and grout are not waterproof; they are water-resistant at best. Without a dedicated waterproofing membrane behind the tile, moisture will eventually penetrate grout lines and reach the substrate, leading to mold, rot, and structural damage. We use Schluter KERDI membrane on every tile shower we build, regardless of tile type or project budget.
How do I keep my grout from molding?
Proper sealing at installation is the foundation — we apply a penetrating grout sealer after full cure. Beyond that, the best long-term habits are keeping grout sealed on an annual basis (most sealers last 1–2 years in shower environments), running your bathroom exhaust fan during and after every shower, and squeegeeing shower walls after use to reduce standing moisture. Epoxy grout is a zero-maintenance alternative worth considering if you want to minimize grout care entirely.
Can you match existing tile in my bathroom?
We do our best to match tile when the goal is blending a repair with existing work. However, exact matches are often difficult because tile dye lots vary between production runs, and discontinued patterns may no longer be available from manufacturers. In many cases, homeowners find this is a good opportunity to update the entire shower or floor with a coordinated new look. We'll give you an honest assessment during the consultation and show you comparable options if an exact match isn't achievable.
Start Your Project

Ready for a Shower That Looks Incredible?

Schedule a free, no-pressure consultation with Infinity Kitchen & Bath. We'll review your space, discuss tile options, and give you a clear, detailed estimate — no surprises.

Get a Free Estimate Call (928) 800-1998